EFFORTLESS ASSEMBLY & DISASSEMBLY:CONVENIENCE AT ITS FINEST
The bolt-and-nut mechanism paves the way for an effortless assembly and disassembly process. Experience ease like never before, allowing you to swiftly modify and adapt your workspace according to your needs.


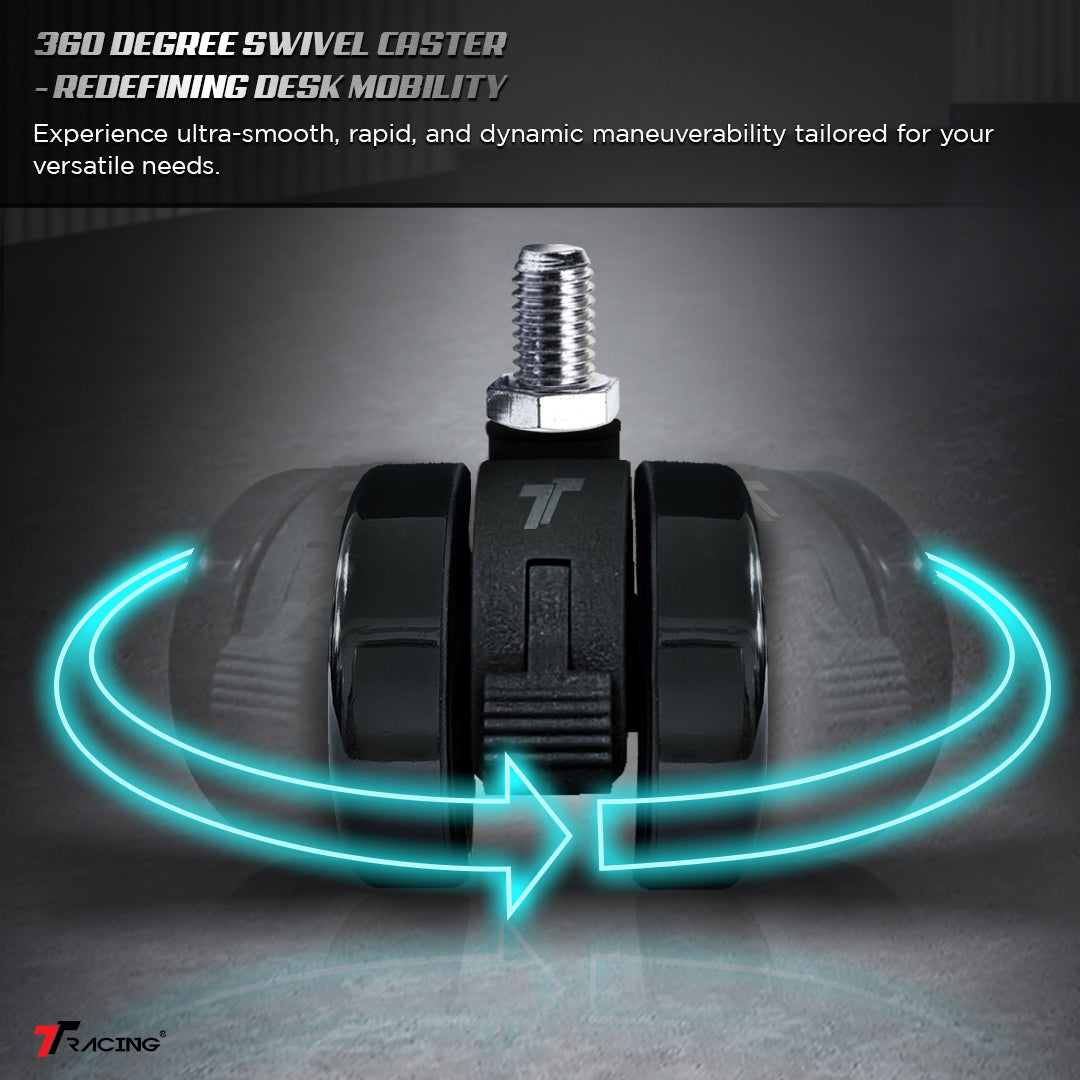
ULTIMATE MANEUVERABILITY: 360° ROTATING CASTERS
Experience boundless mobility with the revolutionary ProGlide Desk Locking Caster wheels. Equipped with a seamless 360° rotation mechanism, they deliver flawless movement and pinpoint control, truly redefining the dynamics of your workspace.
ADVANCED LOCKING & UNLOCKING MECHANISM
Master the movement of your Titus Smart Desk with the seamlessly integrated locking system of ProGlide casters. With a simple motion, glide or anchor your desk casters, ensuring impeccable positioning and steadfast stability tailored to your convenience.


FRICTIONLESS ROLLING FOR A NOISE-FREE GLIDE
Delve into a realm of silence and efficiency with our meticulously crafted, high-grade bearings, designed for minimal friction and maximum durability. Relish the serene, unobstructed glide that not only boosts your productivity but also elevates your workspace experience.
HOW TO INSTALL

STEP 1: First off, locate the levelling stud at the bottom of your Titus desk leg. Gently turn it anti-clockwise until it becomes detached.

STEP 2: Before proceeding, ensure your caster is in its locked position. Then, place it into the now unoccupied hole. A few gentle clockwise turns should securely fix it into position

STEP 3: Well done so far! Now, all that's left to do is replicate Steps 1 and 2 for the remaining three locking casters. Once you've completed this step, your task is complete.
FEATURED ON
MobHouse
Duo V4 KittyPuff & BunnyBliss

These chairs are the lowest maintenance pets you can get for some cuteness in your life.
Syoknya Gajet Studio
Titus Smart Desk - Onyx

Ini adalah gajet baru yang saya ada sekarang. Saya dah unbox and install meja TT Racing Titus Smart Desk yang padu nie. Syok giler bila ...
Mummy Rainie 蕾妮妈咪
TTRacing Duo V4 - Dawn

终于拥有人生中的第一张电竞椅!开箱亲测 TTRacing Duo V4 gaming chair review ...
eddyfazly
TTRacing Duo V4 Pro - Dawn

Thanks kepada @ttracing_global sebab belanja aku gaming chair Duo V4 Pro ni dimana aku memang lama dah mengidam nak pakai gaming chair untuk setup aku! ...
Nizam Blacks
Titus Desk - Onyx

Aku dah test Titus Smart Desk, memang sangat kemas dan tersusun. Electronic adjustable height dia memang next level! So siapa yang mencari meja untuk ...
Nextrift
TITUS SMART DESK

TTRacing has consistently released one affordable product after another, and the TTRacing Titus is no exception. After all, it’s a smart desk that retails from only RM999 ...
Mobhouse
TT Airflex Ergochair - Ashy Grey

At RM599, this chair fits our Malaysian sizes better than some of the "mat salleh" options out there.
Monalizapc
TT Airflex Ergochair - Ashy Grey

Saya guna kerusi ofis terbaru dari TTRACING iaitu TT Airflex Ergochair. Memang sedap dan selesa.


